Your Board is your command center in Session. Every time a client books, Session makes a card for that session and puts it on the Board for you. From there, you just move cards through your own workflow — from “Edit photos” → “Deliver sneak peeks” → “Gallery delivery” → “Done.” No extra setup, no spreadsheets.
 Open your Board
- Go to Board in the top navigation.
- Use the filter on the left to view Past sessions, Upcoming sessions, or Completed cards.
Add or customize columns
Want to match your real workflow?
- Click + Add column on the right.
- Give it a name (ex. Cull & edit, Order products, Send thank-you).
- Add checklist items for that stage — so every session that lands there has the same to-dos.
This is perfect if you always do things in the same order: backup → cull → first edit → final edit → deliver.
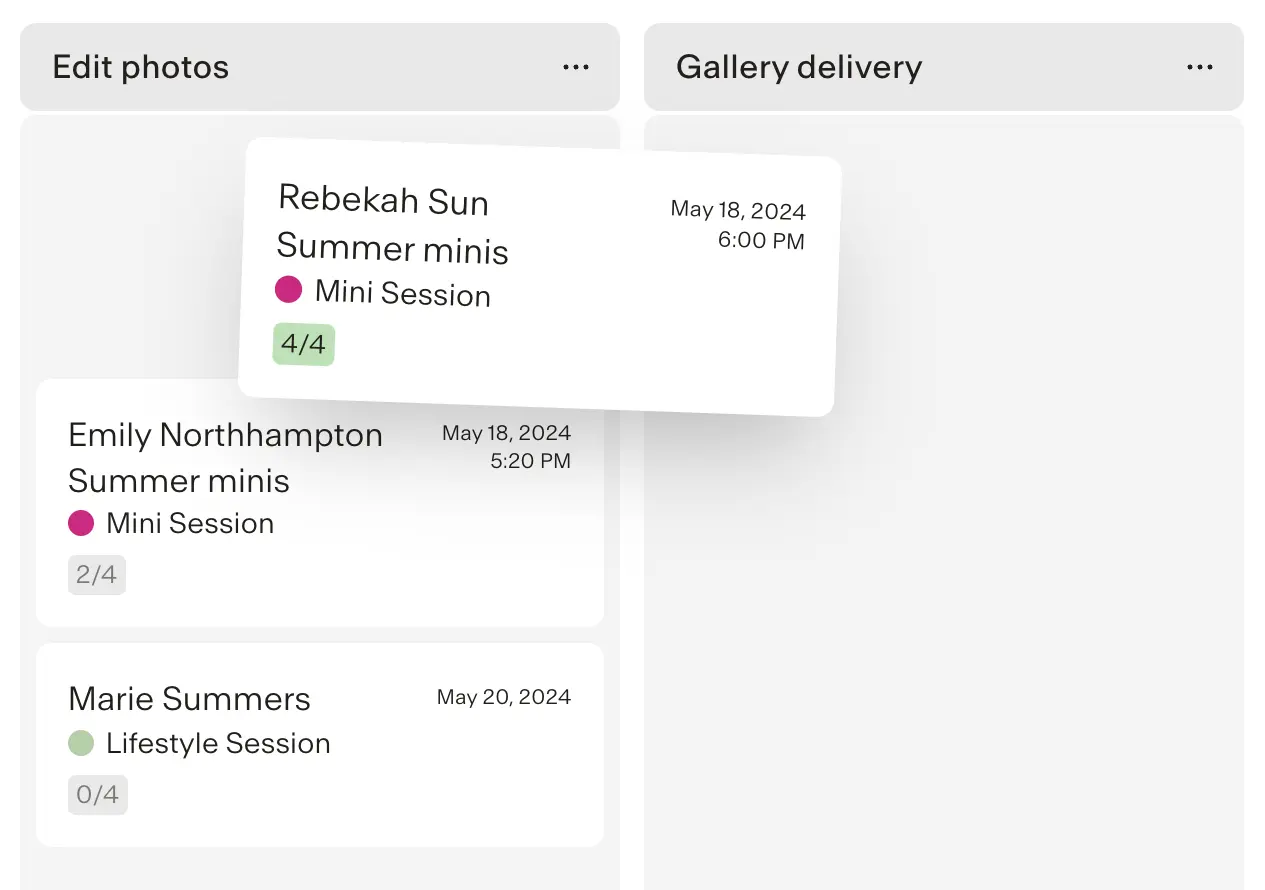
Move session cards
- Just drag a session card from one column to the next (doing → done).
- Each card shows key info (session type, date/time) so you know what’s coming up.
Use checklists & due dates
- In a column’s settings, add the steps you always do at that stage.
- As cards enter that column, you can tick items off right on the card.
- Add due dates to keep time-sensitive sessions moving.
Why use the Board?
- Everything in one place — every session shows up here.
- Repeatable — columns + checklists = consistent client experience.
- Visual — see what’s stuck and what’s ready to deliver.